This post is sponsored by Parissa Wax. All opinions are my own*
This weekend I am headed to… VEGAS BABY! That’s right – bye bye cold weather and HELLO 70 degrees! I knew I had to get my body (including my bikini line) pool ready and I am so happy to be partnering with Parissa Wax today to help me do so. So the reason I am headed to Vegas is to attend the WWDMagic Fashion & Beauty show with Jesse’s Girl Cosmetics. I am so honored and grateful that they asked me to accompany them and I can’t wait to enjoy the warmer weather.
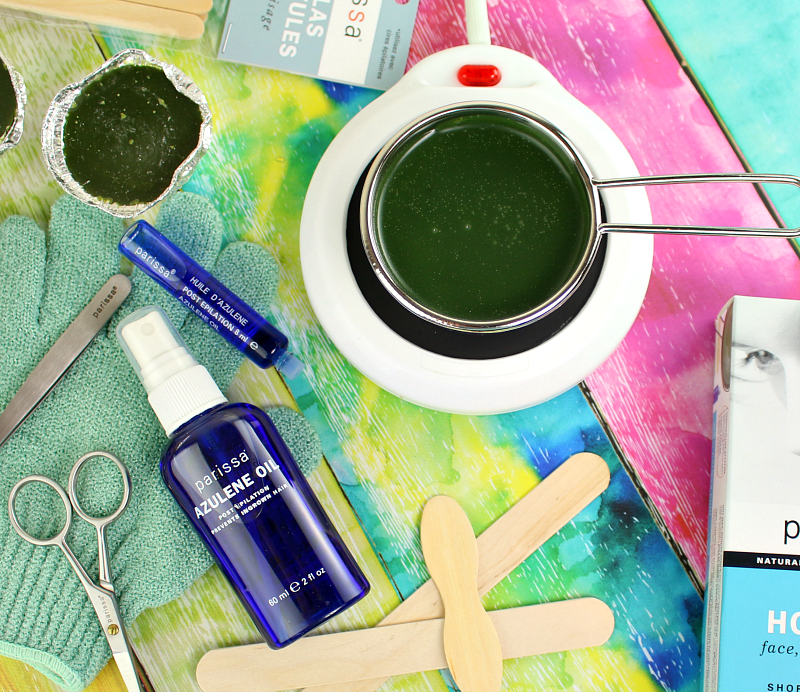
Because I am going to be enjoying the sunshine life, I, of course, had to get my body prepped and not a ton of time to do so. Parissa generously gifted me their Ultimate Brazilian / Hot Wax Super Pack to get the job done. I have actually never done at-home waxing before and have heard just how easy it was to do with their super pack kits. Plus, being that it was strip-free definitely piqued my interest. This wax firms as it cools and the wax becomes the strip. Totally genius!
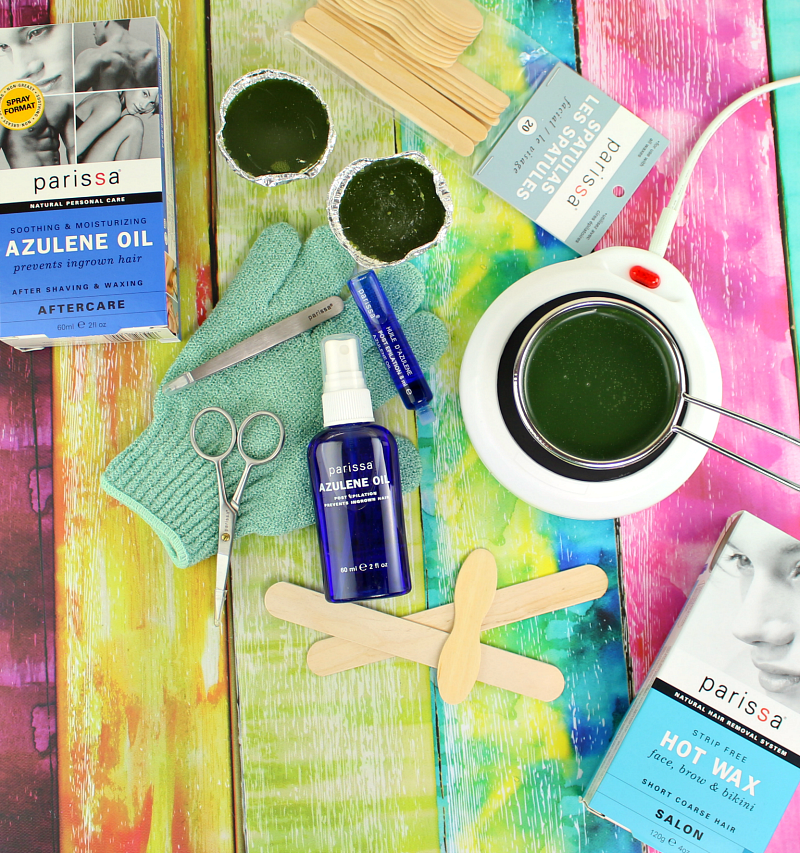
Included in the Ultimate Brazilian / Hot Waxing Super Pack which retails for $45:
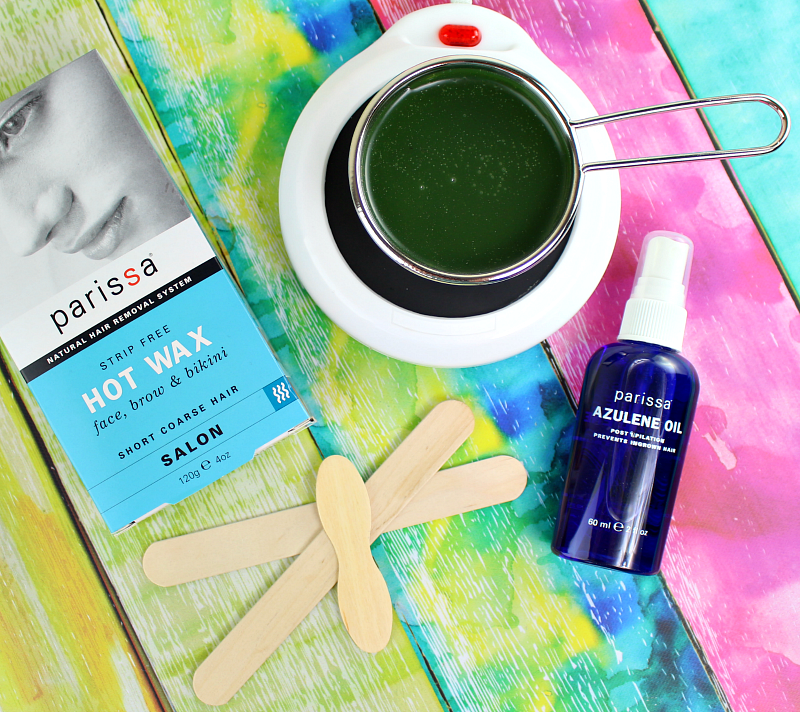
- 215 g Hot Wax, (Strip-Free Hard Wax) The wax in this Super Pack is Parissa Hot Wax: strip-free, salon strength, hard wax. This is hair removal wax that’s perfect for gently lifting away short, coarse hair in sensitive skin areas.
- Parissa Wax Warmer. Electric Plug-in – Keeps the Parissa Hot Wax at the right temperature during your waxing session. No running back and forth to the stove!
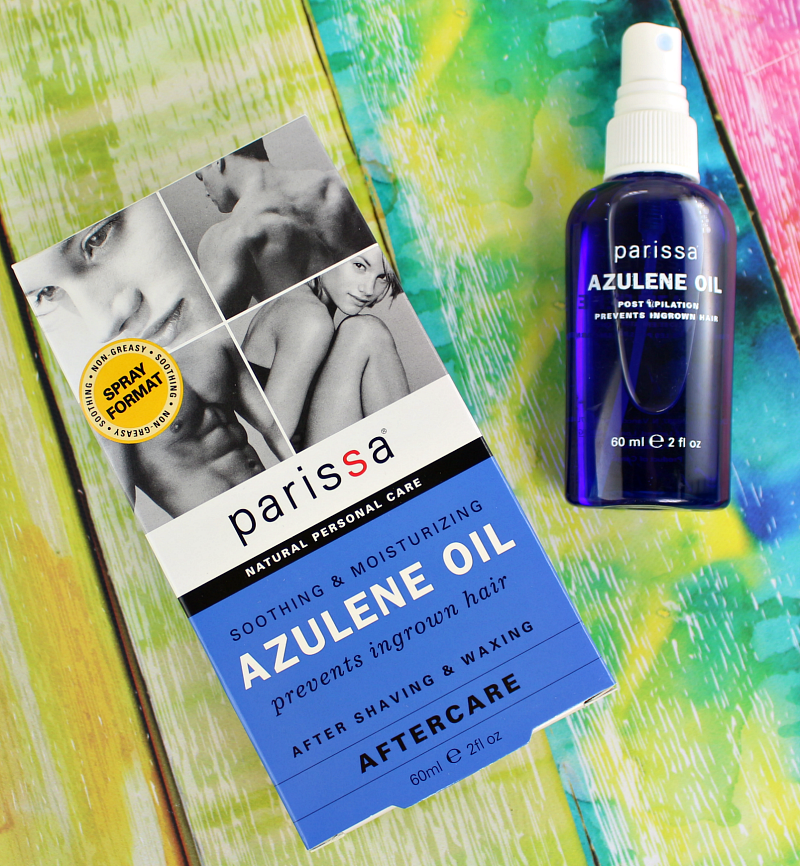
- Azulene Spray Bottle 60 ml – Can be applied before and after waxing. Applied before waxing Azulene oil helps create a barrier between the skin and wax, apply and remove with tissue to ensure only a very fine layer remains on the skin. Azulene oil also contains natural chamomile anti-inflammatory and antiseptics which reduce ingrown hairs and redness when applied regularly after waxing.
- Exfoliation Glove – Can be used 24 hours after waxing. Regular exfoliation helps remove the outer layer of the skin’s dead cells, reducing the occurrence of ingrown hairs.
- Wooden Spatulas x 20 – Use fresh spatulas for each new waxing session.
- Stainless steel trimming Scissors
- Stainless steel Tweezers
- Photo Instructions for Hot Wax
Not too shabby right? You get pretty much everything you need for your before and after waxing treatment. I laid everything out in my bathroom and was ready to tackle my bikini line & my arms. (I’ll be showing you my arms in this blog post)
About The Ingredients:
- Gum rosin is a naturally sticky extract from pine trees.
- Beeswax is a natural wax that is firm at room temperature & doesn’t stick to skin. (This also makes this wax ideal for sensitive skin areas, face, and underarms.)
- Canola oil, a natural vegetable oil extracted from the Rapeseed plant.
- Chamomile a natural plant extract & soothes the skin.
Before starting, you want to make sure to do a patch test. If no irritation occurs after 24 hours, you are good to go!
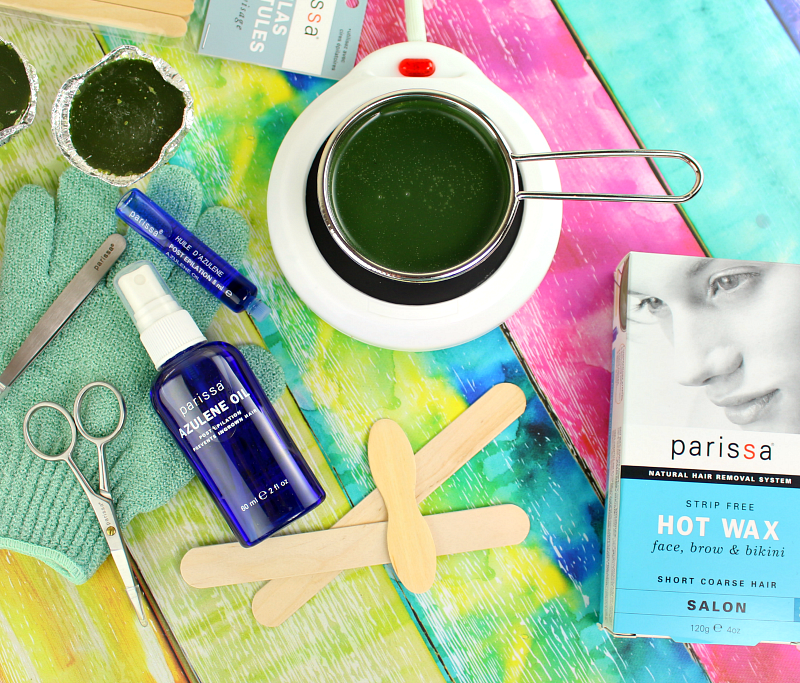
Step 1: Do NOT clean skin!
Step 2: Place your pan of heat wax onto your warmer and turn on. You are going to want to heat the wax so that it has the consistency of honey/gel and make sure it retains that consistency throughout the process.
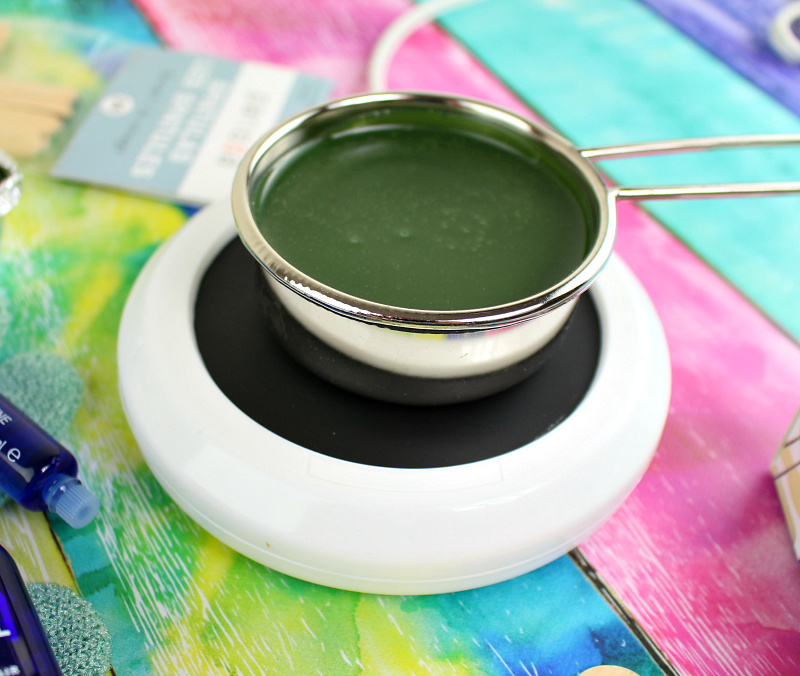
Mine took about 20-25 minutes to fully melt and get it to a honey-like consistency.
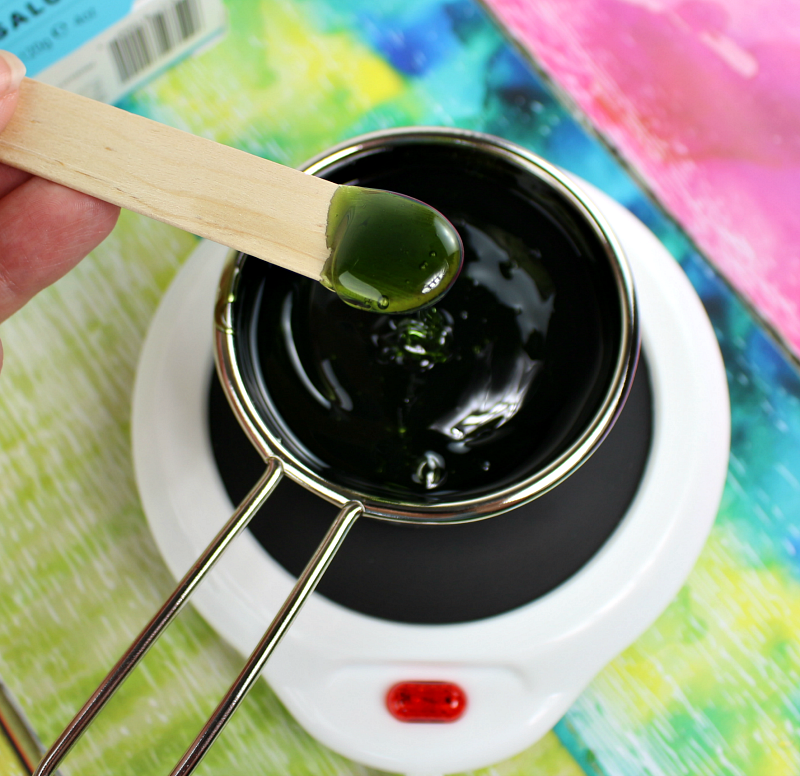
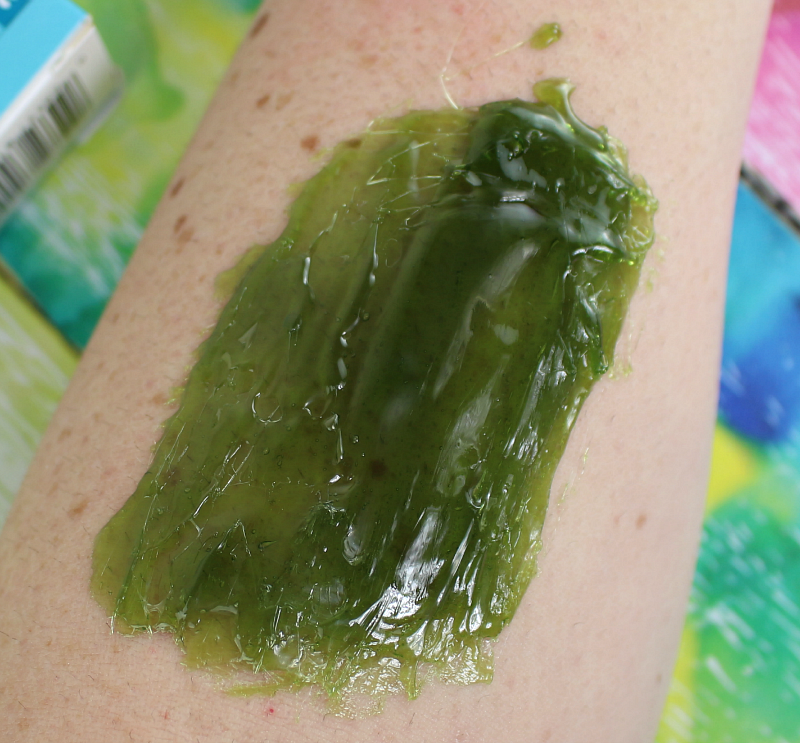
Step 3: Smooth on your skin using the flat side of the spatula. You are going to want to spread a fairly THICK layer of wax in the opposite direction of hair growth. If you leave the wax thicker and round off the outer edges, it’s going to be a LOT easier for you to remove. It does take some practice, so mine isn’t the prettiest of applications.
Before Shot of my arm hairs (I’ve always shaved my arms – Does anyone else?)
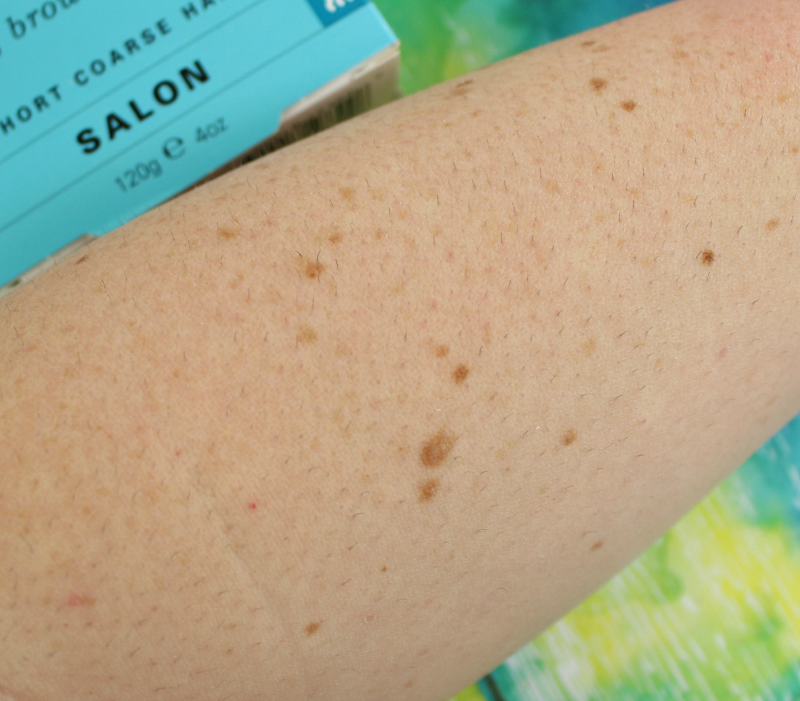
Once the wax is no longer sticky to the touch, you can go ahead and even-out & smooth with your fingers before removing. Don’t wait until the wax hardens or else it becomes VERY difficult to remove. Before I ended up removing, I rolled up the outer edges just so I could get a pretty good grip and rip off in one piece. Make sure to do this against hair growth with one hand while tautening the skin with the other. Now just count down 3-2-1 and hold your breath (lol)
After Shot:
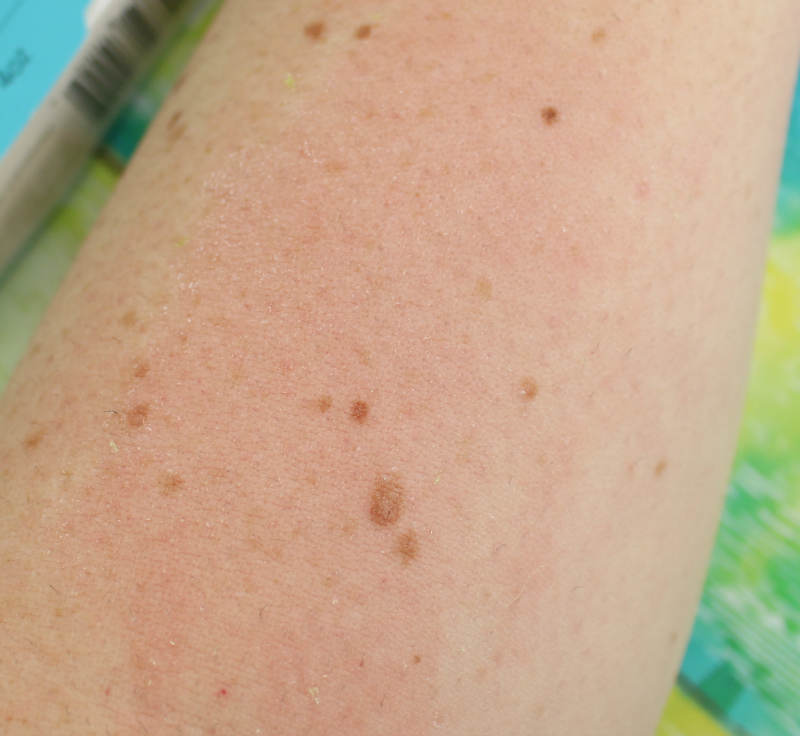
I was pretty impressed how well the arm hairs came off AND the wax came off in ONE piece! Totally gross yet cool at the same time right?
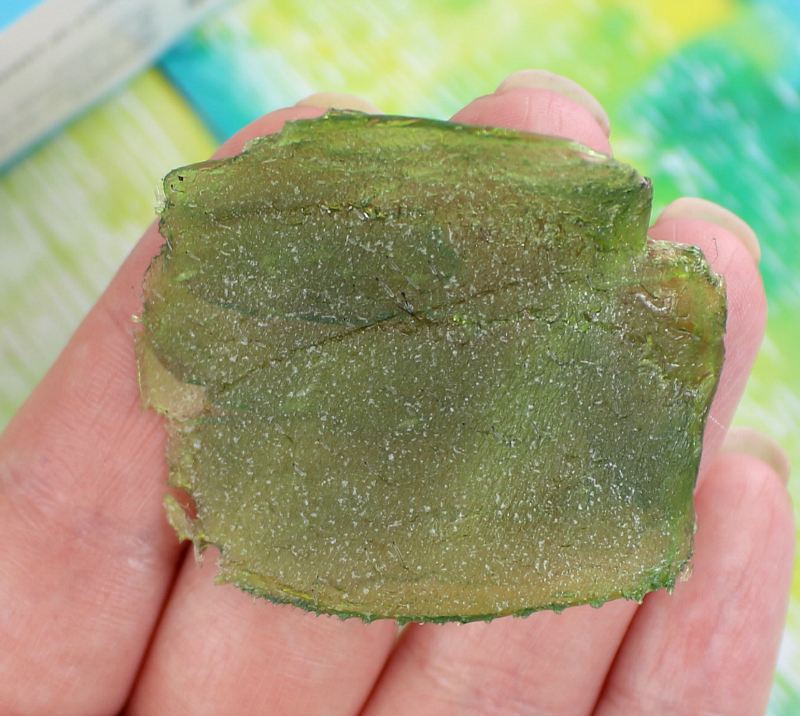
After I was done waxing, my skin definitely turned pink and was spotty in a few areas, but went away after a few hours. I also went ahead and applied the azulene oil to soothe and clean the skin after I was done waxing. I love that it comes in a spray format – Definitely made it super easy to apply. This is also great to use on the daily to retain your smooth skin.
Parissa explains that regrowth can vary from person to person but could appear anywhere from 2-8 weeks. I was able to get a good 2 and a half weeks on my arms before I needed to do any sort of touch-ups. (The Express Wax Strips are great for this!)
Parissa also has a ton of different kits to choose from including kits for men! Would I continue to wax at home? Absolutely! I think so many people are intimidated by waxing themselves, but this was so incredibly easy. I promise you will never go back to traditional waxing – This is phenominal!
Would you ever wax at home?
You can learn more about Parissa and their complete kits on their website HERE
This post is sponsored by Parissa Wax. All opinions are my own*


 @northeastwr
 {GRWM}
.
 .
#momsofinstagra
 .
#capcut #weekinthelife #we


 #ladygaga #transition #lad
 +
+  =
= 

Leave a Reply